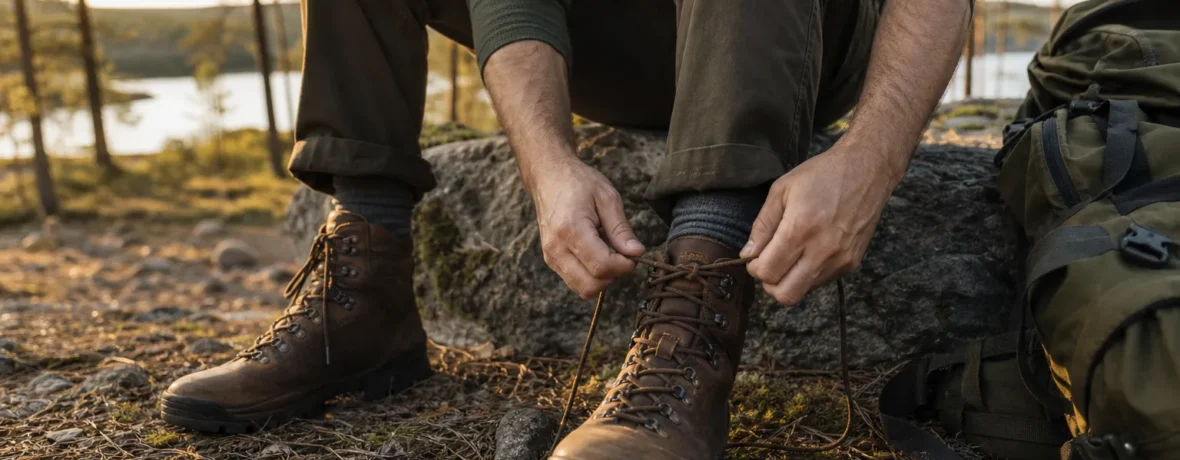
Here’s how to tie hiking boots: snug the forefoot, lock the ankle with a heel-lock knot, then tie a firm double knot that does not crush your instep. If your heel lifts more than 1/4 inch [6 mm], change the lacing before you hike, not after the hot spot starts.
Heel slip is sneaky. One minute your boot feels “broken in.” The next, the back of your heel feels warm, then raw, then cooked. The fix is often not a new boot. It is usually better lace tension, smarter use of the hooks, and one simple lock that keeps your heel seated in the heel cup.
How do you know your hiking boots are laced wrong?
Your boots are laced wrong if your heel lifts, your toes hit the front, or the top of your foot aches before the trail gets hard.
Start with the feel test. Stand in your hiking socks, lace both boots, and walk up and down stairs or a sloped driveway. Your heel should stay planted. Your toes should have room to wiggle. Your instep should feel held, not squeezed.
Bad lacing usually shows up in one of five ways:
- Heel lift: the back of your heel slides up and down with each step.
- Toe bang: your toes slam forward on descents.
- Instep pain: the top of your foot gets sore under the tongue.
- Ankle bite: the cuff digs into your ankle bones or tendons.
- Hot spots: warm, irritated skin appears before a blister forms.
A hot spot is your warning alarm. Stop right there. The Mayo Clinic blister first-aid guidance describes a hot spot as a sign that a blister is forming, and it recommends protecting the area before it gets worse.
How to tie hiking boots so your heel does not slip?
Use a heel-lock lacing pattern, then finish with a secure double knot.
This is the best first move for most hikers because it holds your ankle and heel without forcing you to crank down the toe box. You get a snug rearfoot and a calmer forefoot. That matters on steep climbs, loose descents, and long days when your feet swell.
- Lace normally from the toe box to the ankle bend. Keep the lower laces comfortable. Do not strangle your forefoot.
- Find the top two hooks or eyelets. These are the lock points that control heel movement.
- Cross the laces once, then run each lace under the opposite top hook. Pull down and back, not straight up.
- Make a surgeon’s knot below the top hooks. Cross the laces, wrap one lace around the other twice, then pull tight. The extra wrap adds friction.
- Finish with a bow and double knot. Walk 25 steps. If the heel still lifts, retie with firmer ankle tension, not tighter toe tension.
The trick is direction. Pull the laces toward your heel. That seats the heel deeper into the boot. If you yank upward, you mostly tighten the cuff and mash the tongue into your shin.
How to lace hiking boots for heel slip?
Use the method that matches the problem: heel lock for lift, surgeon’s knot for tension, window lacing for pressure, toe-relief lacing for black toenails, and ankle-relief lacing for cuff bite.
Here is the quick comparison before you start rethreading everything at the trailhead.
| Lacing method | Best for | How it feels | Use it when |
|---|---|---|---|
| Heel-lock lacing | Heel slip and rubbing | Firm around ankle, normal in toe box | Your heel lifts on climbs or descents |
| Surgeon’s knot | Holding tension in one zone | Locked-in without full-boot tightness | Laces loosen after 10 minutes |
| Window lacing | Instep pressure | Relief over the top of the foot | The tongue creates a sore spot |
| Toe-relief lacing | Toe bang and nail pressure | More space at the front | Your toes feel jammed downhill |
| Ankle-relief lacing | Cuff bite and tendon pressure | Less pressure at the top hook | The boot collar digs into your ankle |
1. Heel-lock lacing for heel slip
This is the go-to fix for a sliding heel.
- Lace the boot normally up to the ankle bend.
- Pull the heel back into the heel cup by tapping your heel on the ground.
- Make one surgeon’s knot at the ankle bend.
- Run the laces to the top hooks, pulling down and back.
- Tie a bow, then double knot it.
Use this on climbs when the boot wants to flex away from your heel. Use it on descents when your foot creeps forward and your heel rubs on the way back.
2. Surgeon’s knot for laces that keep loosening
A surgeon’s knot locks tension exactly where you place it.
- Lace up to the spot where you want the lower boot to stay snug.
- Cross the laces like the first step of a normal knot.
- Wrap one lace around the other a second time.
- Pull the knot flat against the boot.
- Continue lacing above it with different tension if needed.
This lets you run the forefoot looser and the ankle tighter. That split tension is gold for hikers with wider forefeet, high-volume socks, or feet that swell after several miles [kilometers].
3. Window lacing for top-of-foot pressure
Window lacing skips the painful spot without making the whole boot sloppy.
- Unlace the boot down to the sore area.
- Run each lace straight up on the same side past the pressure point.
- Cross the laces again above the pressure point.
- Add a surgeon’s knot above the window if your heel starts moving.
- Finish the boot as usual.
The open “window” removes direct lace pressure from the top of your foot. If the boot tongue has a stiff seam or folded edge, flatten it before you tie. Tiny wrinkles become mean after 6 miles [9.7 km].
4. Toe-relief lacing for downhill toe bang
Toe-relief lacing creates more front-of-boot space, but it will not fix boots that are too short.
- Remove the lace from the first eyelets closest to your toes.
- Begin lacing at the second set of eyelets.
- Keep the forefoot light and even.
- Lock the ankle with a surgeon’s knot.
- Use the heel-lock finish to keep your foot from sliding forward.
If your toes still hit the front on every descent, lacing is not the whole problem. Your boots may be too short, too low-volume in the toe box, or paired with socks that are too thick for the fit.
5. Ankle-relief lacing for cuff bite
Ankle-relief lacing reduces pressure from the top of the boot.
- Lace normally to the second-highest hooks.
- Skip the very top hooks if the collar bites your ankle.
- Tie the boot at the lower hook level.
- Walk uphill and downhill for 3 minutes.
- If heel slip returns, add a surgeon’s knot one hook lower.
This works well when the boot collar feels harsh but the rest of the fit is solid. Do not use it as a permanent patch for a boot that folds into your ankle or bruises the front of your shin.
How do you tie hiking boots to prevent blisters?
To use how to tie hiking boots to prevent blisters, stop heel movement first, reduce pressure points second, and keep the boot snug without cutting off toe room.
Blisters form when friction, moisture, and pressure team up. Lacing handles the movement piece. Socks, fit, and foot care handle the rest. MedlinePlus says blisters commonly happen when shoes do not fit quite right and keep rubbing part of the foot. The American Academy of Dermatology recommends protecting blistered skin and avoiding removal of the blister roof because that skin helps protect the raw area underneath.
Use this pre-hike blister checklist:
- Wear the exact socks you plan to hike in when checking boot fit.
- Trim toenails straight across before long descents.
- Pull socks smooth at the heel and toe before lacing.
- Use heel-lock lacing if your heel moves more than 1/4 inch [6 mm].
- Use window lacing if you feel a sharp pressure point on top of the foot.
- Stop at the first hot spot and cover it before the skin breaks.
- Carry blister pads, tape, or moleskin in your first-aid kit.
A systematic review on friction blister prevention in outdoor pursuits looked at sock, antiperspirant, and barrier strategies for hiking, running, marching, and similar activities. The practical takeaway for hikers is simple: do not rely on lacing alone. Combine good fit, dry socks, and early hot-spot care.
Should hiking boots be tight or loose?
Hiking boots should be snug at the heel and midfoot, with room for your toes to spread and move.
Think “held,” not “crushed.” Your heel should stay seated. Your arch should feel supported. Your toes should not curl, tingle, or press hard against the front of the boot. If you can only stop heel slip by wrenching the entire boot tight, the boot may not match your foot shape.
Use a two-zone approach:
- Lower zone: toe box and forefoot. Keep it comfortable and flexible.
- Upper zone: ankle bend, hooks, and cuff. Keep it firm enough to hold your heel.
Feet often swell during long hikes, hot weather, and sustained climbing. Leave enough lace adjustment to loosen the forefoot at a break without giving up the heel lock. If your toes go numb, loosen the lower laces immediately and reassess.
Why do my heels slip in hiking boots?
Your heels slip because the boot volume, heel shape, sock thickness, or lace tension does not match your foot.
Heel slip does not always mean the boot is too big. A narrow heel inside a roomy heel cup can slide even when the length is correct. A low-volume foot can float under a tall instep. A slick sock can move inside the boot. A soft boot can flex open at the heel every time you climb.
Try fixes in this order:
- Retie with heel-lock lacing. This is the fastest trail fix.
- Add a surgeon’s knot at the ankle bend. This stops tension from bleeding into the forefoot.
- Change socks. A thicker sock may fill volume; a smoother liner may reduce shear.
- Check the insole. A higher-volume insole can reduce empty space, but it should not jam your toes.
- Recheck boot fit. If the heel cup shape is wrong, lacing can only do so much.
Do not ignore heel slip on a short hike because “it is only 3 miles [4.8 km].” Repeated rubbing over a short distance can still wreck tomorrow’s hike.
What is the best knot for hiking boot laces?
The best knot for hiking boot laces is a surgeon’s knot plus a double bow.
The surgeon’s knot holds tension where you need it. The double bow keeps the final knot from shaking loose on rocky trail, wet grass, scree, and mud. If your laces are round and slick, they need more help than flat laces. Waxed or textured laces tend to hold better.
Here is the simple boot-knot setup:
- Use one surgeon’s knot at the ankle bend.
- Lace the hooks with steady, even tension.
- Tie a normal bow.
- Double knot the loops.
- Tuck long loops under crossed laces so they do not snag.
If your knot still loosens, check lace length. Laces that are too long create oversized loops. Laces that are too short force weak knots. Either problem can make a solid boot feel unreliable.
When should you relace your boots on the trail?
Relace your boots as soon as you feel slipping, pressure, numbness, or heat on the skin.
Do not wait for the next summit, lake, overlook, or lunch rock. Stop for 2 minutes. Fix the boot. Your feet are not being dramatic; they are giving you useful data.
Good times to adjust lacing:
- At the trailhead: tie carefully before the first mile [1.6 km].
- After 10 minutes: retighten once the boot and socks settle.
- Before a long descent: lock the heel to prevent toe bang.
- During hot weather: loosen the forefoot if swelling starts.
- At the first hot spot: stop, dry the area, protect it, and retie.
Fast hikers lose time when they skip foot care. Slow hikers lose time too. The trail does not care how fit you are if every step rubs the same patch of skin.
When to see a doctor
See a doctor if a blister shows signs of infection, keeps getting worse, or you have a medical condition that raises your risk from foot wounds.
Get medical help for spreading redness, increasing pain, warmth, pus, red streaks, fever, or a blister that does not improve. The Mayo Clinic lists expanding skin color changes, increasing pain, pus, and warm skin as signs that a blister may be infected. MedlinePlus also advises extra caution for people with diabetes or circulation problems.
Do not diagnose trail wounds by guesswork. If you are unsure, stop hiking, clean and cover the area, and get professional care.
Related reading
- How to Clean Hiking Boots Without Ruining Leather or Membranes
- Hiking Shoes vs Hiking Boots: Which Should You Buy?
- How Should Hiking Boots Fit? The Thumb Rule and Other Checks
- How to Break In Hiking Boots (and How Long It Takes)
FAQ
What is the best way to lace hiking boots for heel slip?
The best way is heel-lock lacing with a surgeon’s knot at the ankle bend. Keep the forefoot comfortable, then pull the ankle laces down and back to seat the heel in the heel cup.
Should I lace hiking boots all the way to the top?
Yes, lace to the top if you need ankle hold or heel control. Skip the top hook only if the collar causes cuff bite and your heel still stays secure.
Why do my toes hurt when my hiking boots are tight?
Your toes hurt because the forefoot is too tight, the boot is too short, or your foot is sliding forward on descents. Try toe-relief lacing and a heel lock; if your toes still hit the front, reassess boot size and shape.
Can lacing fix hiking boots that are too big?
Lacing can improve a slightly roomy boot, but it cannot fix a truly oversized boot. If your foot slides side to side or your heel lifts after a firm heel lock, the boot shape or volume is likely wrong.
Do thicker socks stop heel slip?
Thicker socks can reduce heel slip if the boot has extra volume. They can also create toe pressure, heat, and bunching, so test them on a short walk before taking them on a long hike.
How tight should hiking boots be for downhill hiking?
For downhill hiking, the ankle and heel should be firm enough to stop forward slide. The toe box should still allow toe wiggle, or you risk pressure, black toenails, and hot spots.