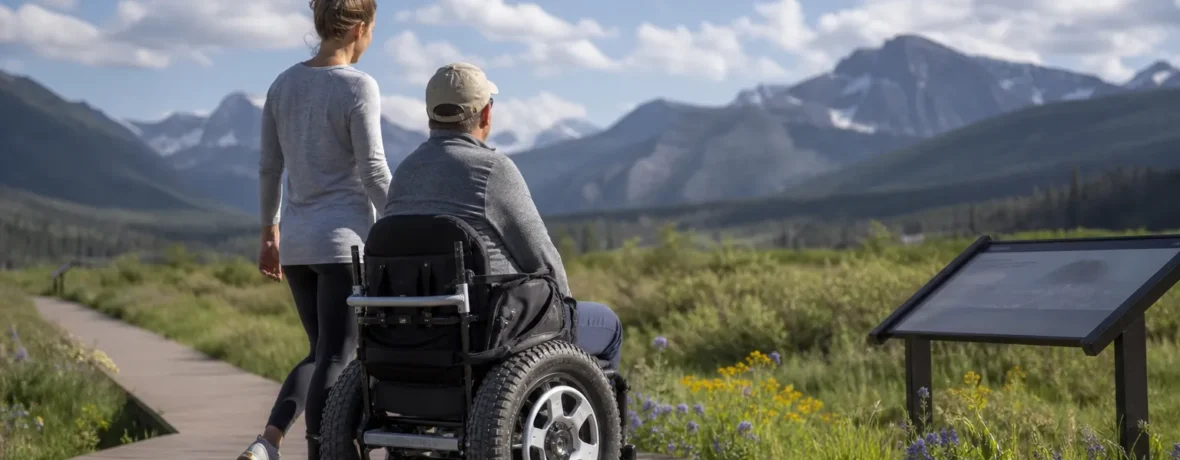
US national parks offer wheelchair-accessible trails, but access varies by grade, surface, season, and device. This guide highlights 10 strong trail options, from paved canyon paths to boardwalks and waterfall viewpoints, and shows you how to check official accessibility details before you roll to the trailhead.
What are the best wheelchair accessible trails in US national parks?
The best wheelchair accessible trails pair firm surfaces, clear grades, close parking or shuttle access, and a big payoff.
Start with parks that publish real accessibility details, not vague promises. A trail can be paved and still tough if it has steep pitches, broken asphalt, tight turns, sand, snow, boardwalk gaps, or no curb cut from the lot. The trails below are good candidates because the National Park Service identifies them as accessible, wheelchair friendly, or usable with assistance.
| Trail or area | National park | Why it works |
|---|---|---|
| Pa’rus Trail | Zion | Paved Virgin River route; Zion lists detailed grade, width, surface, and obstruction data. |
| Lower Yosemite Fall Trail | Yosemite | Paved waterfall approach; the eastern route to the viewing area is listed as wheelchair accessible. |
| Rim Trail sections | Grand Canyon | Paved South Rim walking with canyon views and shuttle access in many areas. |
| Fossil Exhibit Trail | Badlands | Fully accessible boardwalk with tactile fossil exhibits and Braille. |
| Old Faithful and Upper Geyser Basin walkways | Yellowstone | Accessible walkways connect parking areas, the visitor center, Old Faithful, and nearby hydrothermal features. |
| Cadillac Summit Loop | Acadia | Short summit path with wide views; used often by visitors with mobility limitations. |
| Grizzly Giant accessible route | Yosemite | Short, relatively flat route among giant sequoias. |
| Window Trail and Fossil Exhibit Trail | Badlands | Accessible boardwalk options in open prairie and Badlands terrain. |
For Zion, the official Zion trail access information is unusually useful because it gives measurements for the Pa’rus Trail, including its 1.6-mile [2.5 km] one-way length, typical grade, maximum grade, tread width, and surface details, as of November 2026.
For Yosemite, the Lower Yosemite Fall Trail page says the whole loop is paved and that the eastern part of the loop from the Yosemite Falls shuttle stop to the viewing area is accessible to wheelchairs, as of November 2026. The western side has a short steep section near the viewing area, so choose your direction with care.
Which national parks are easiest for wheelchair users?
The easiest parks are the ones with accessible shuttles, visitor centers, restrooms, parking, viewpoints, and multiple short trail choices close together.
Look hard at Zion, Yosemite Valley, Grand Canyon South Rim, Yellowstone’s major geyser basins, Badlands, Acadia, Everglades, and Carlsbad Caverns. Each gives you a different kind of access. Zion has canyon-floor pavement and a shuttle system. Yosemite Valley has paved paths, waterfall viewpoints, and accessible facilities in a compact area. Grand Canyon South Rim gives you rim views without needing to descend into the canyon. Yellowstone has boardwalks, but some geyser basin sections are steep, narrow, wet, or crowded. Badlands is strong for short boardwalks and overlooks. Acadia combines coast, summit, carriage roads, and selected accessible paths.
If you want the simplest day, pick one hub and stay there. A two-hour accessible visit often beats a six-hour park scramble with three parking fights and a trailhead that turns out to have a curb, gravel washout, or closed restroom.
How do you know if a trail is truly wheelchair accessible?
You know by checking the surface, grade, cross slope, width, obstructions, and current conditions—not by trusting the word “easy.”
“Accessible,” “wheelchair friendly,” “paved,” and “ADA compliant” do not always mean the same thing in a national park. A historic canyon path may be paved but too steep for independent travel. A boardwalk may be firm but narrow. A gravel trail may work for an all-terrain chair but not a standard manual chair. Winter ice can turn a smooth route into a no-go. Spring runoff can flood an otherwise flat path.
Before you commit, check these details:
- Surface: asphalt, concrete, boardwalk, compacted gravel, packed dirt, sand, or mixed surface.
- Grade: both average and maximum slope. Short steep ramps can matter more than the overall climb.
- Cross slope: side tilt can be exhausting and unsafe, especially on long traverses.
- Width: confirm passing space on boardwalks and bridges.
- Transitions: curb cuts, thresholds, boardwalk-to-asphalt lips, drainage grates, and bridge edges.
- Restrooms: accessible toilets near the trailhead and along the route if the outing is long.
- Shade and heat: desert boardwalks and paved paths can feel far hotter than the forecast.
- Exit options: shuttle stops, turnarounds, benches, pullouts, and bailout points.
The Yellowstone accessibility page is a good example of why details matter. It describes accessible walkways in some areas, but it also flags places where assistance may be needed because of slopes, boardwalk transitions, uneven surfaces, or gaps, as of November 2026.
How should you plan a wheelchair-accessible national park hike?
Plan the trail like a route, not like a wish.
- Choose one primary trail. Pick the route that matters most to you, then build the day around it. Do not stack three “maybe accessible” trails and hope the park cooperates.
- Open the park’s official accessibility page. Search the specific park name plus “accessibility” on nps.gov. Read the trail section and facility section.
- Check current alerts. Closures, road work, shuttle changes, snow, rockfall, flooding, wildfire smoke, and damaged boardwalks can change access fast.
- Call or email the park. Ask direct questions: Is the curb cut usable? Are accessible spaces open? Is the restroom open? Has the trail surface changed this week?
- Map the whole chain. Parking, shuttle, restroom, trailhead, route, turnaround, water, shade, and exit. A great path with impossible parking is not a great plan.
- Pick your time window. Go early for cooler temperatures and fewer crowds, especially at Zion, Yosemite, Grand Canyon, Yellowstone, and Acadia.
- Set a turnaround rule. Turn around before fatigue, heat, shoulder strain, battery drain, or weather becomes the boss.
If the route uses a shuttle, confirm lift or ramp access and device size limits directly with the park before you travel. If you use a powered chair or scooter, check battery range against distance, grade, surface, temperature, and expected waiting time.
Can you use mobility devices on national park trails?
Yes, wheelchairs that meet the ADA definition are allowed anywhere foot travel is allowed in national parks.
The National Park Service says devices that meet the ADA definition of a wheelchair are allowed anywhere foot travel is allowed, including wilderness opportunities, as of November 2026. The same NPS mobility devices guidance also explains “Other Power-Driven Mobility Devices,” such as certain devices not primarily designed for people with disabilities, and notes that some parks offer loaner beach wheelchairs, track chairs, all-terrain manual chairs, or other devices.
That does not mean every trail is physically passable. Legally allowed and practically safe are different questions. A wheelchair may be permitted on a steep wilderness trail, but rocks, roots, exposure, mud, or stairs can stop the route. Think of the rule as access permission, not a trail-condition guarantee.
What should you pack for an accessible trail day?
Pack for independence, heat, delays, and surface problems.
Short accessible trails can still be remote in practical ways. A half-mile boardwalk in a desert park may have no shade. A paved rim trail can sit at high elevation. A shuttle delay can turn a quick outing into a long sit in sun or wind.
- Water in reachable bottles or a hydration setup you can use without help.
- Snacks with salt and quick calories.
- Sun hat, sunglasses, sunscreen, and UPF layers.
- Light insulation layer for wind, shade, or sudden weather.
- Gloves for manual wheelchair users on long paved descents or rough boardwalks.
- Small repair kit: tire tools, patch kit, pump or inflator, multi-tool, zip ties, and tape.
- Portable charger or backup battery for phone and powered mobility devices when appropriate.
- Downloaded park map, because cell service can disappear fast.
- Medication, medical supplies, and emergency info kept where a companion can find them.
- Headlamp or small light, even for a day hike.
For desert parks, add more water than you think you need and build in shade breaks. For boardwalk-heavy parks, expect vibration and gaps. For waterfall trails, expect mist, wet pavement, and slick viewing areas. For high-elevation parks, pace the day and watch for faster fatigue.
When to see a doctor
Get medical help right away for chest pain, severe shortness of breath, fainting, confusion, or heat illness symptoms that worsen or do not improve after cooling and rest.
Trail exertion, heat, altitude, dehydration, and long transfers can stress your body. The CDC says heat stroke is a medical emergency and lists warning signs such as confusion, slurred speech, loss of consciousness, and hot skin; CDC heat guidance also says to get medical help if heat-exhaustion symptoms worsen, vomiting occurs, or symptoms last longer than 1 hour. Check the CDC heat-related illness guidance before hot-weather trips.
Talk with your clinician before a national park hike if you have a heart, lung, circulation, neurological, or heat-sensitivity condition that could be affected by exertion, altitude, or temperature. This guide cannot diagnose symptoms or tell you what level of activity is safe for your body.
How can you make the trail better for everyone?
Use the route with patience, communicate clearly, and do not block the accessible features other visitors need.
Accessible trails get crowded because they serve everyone: wheelchair users, cane users, families with strollers, older hikers, people recovering from injury, blind or low-vision visitors, neurodivergent visitors, and people who simply need a gentler path. The fix is not gatekeeping. The fix is better trail manners.
- Do not stand in curb cuts, ramp landings, accessible parking aisles, or boardwalk pullouts.
- Step aside before taking photos on narrow paths.
- Keep dogs short-leashed where pets are allowed, and never let a leash stretch across the trail.
- Yield without making a production of it.
- Ask before helping. “Would you like a hand?” is better than grabbing someone’s chair, arm, pack, or device.
- Report damaged surfaces, blocked ramps, missing signs, or closed accessible restrooms to park staff.
Good access is not only about construction. It is also about how people behave once they get there.
Related reading
- Who Maintains Hiking Trails?
- The People Who Build Trails: Inside Volunteer Path Work
- What Is National Trails Day?
- Off-Leash Dogs on Trails: A Debate
FAQ
Are all paved national park trails wheelchair accessible?
No. Paved does not always mean wheelchair accessible. A paved trail may have steep grades, cracked asphalt, missing curb cuts, cross slope, stairs, sand, snow, or damaged sections.
What is the most wheelchair-friendly national park?
There is no single winner for every visitor. Yosemite Valley, Zion Canyon, Grand Canyon South Rim, Yellowstone’s major developed areas, Badlands, and Acadia are strong choices because they combine scenic payoff with accessible facilities or route information.
Do national parks rent wheelchairs?
Some parks loan or rent wheelchairs, beach wheelchairs, track chairs, or all-terrain chairs, but availability varies by park and season. Check the park’s official accessibility page before you go, and call ahead if that device is essential to your trip.
Can service animals go on wheelchair accessible trails?
Yes, service animals are generally allowed in national parks where visitors are allowed. They must be under control, and park-specific wildlife, shuttle, and safety guidance still applies.
How do I find current wheelchair accessible trail conditions?
Use the official NPS app, the park’s nps.gov accessibility page, current alerts, and a direct call to the visitor center. Ask specific questions about surface damage, snow, restroom access, shuttle access, and construction near the trailhead.
What distance should I choose for a first accessible national park trail?
Start short: a route under 1 mile [1.6 km] round trip is a smart first pick if you are testing a new park, device, elevation, or heat level. Add distance only when the surface, grade, weather, and exit options look solid.