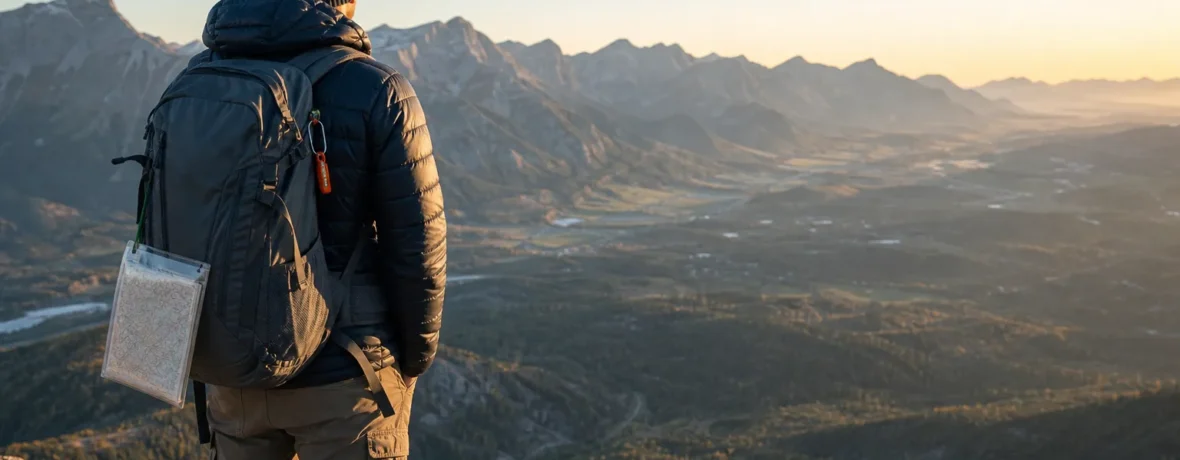
Solo hiking is safe for most prepared hikers when you choose a realistic trail, leave a trip plan, carry the 10 essentials, start early, and turn around before you are tired, lost, or racing daylight. For your first solo trip, pick a familiar trail under 5 miles [8 km].
Is solo hiking safe?
Yes, if you cut the risk before you reach the trailhead.
The biggest shift is simple: nobody is there to catch your small mistakes before they stack up. A wrong turn, a late start, a dead phone, and a storm cell can turn a mellow walk into a long night. Solo hikers do not need to be fearless. They need to be honest.
Start with trails that match your current fitness, not your best day from three summers ago. If you usually hike 6 miles [10 km] with friends, your first solo route should feel easier than that. Shorter. Familiar. Well-marked. Popular enough that another person may pass, but not so crowded that you stop paying attention.
Use the same mindset you would use around sharp tools: relaxed, but not casual. Check the weather. Read recent trail reports. Know your water sources. Pack for a delay. Tell someone where you are going. Then stick to the plan unless conditions tell you to shorten it.
How do you plan a solo hike step by step?
Plan backward from daylight, terrain, and your own turnaround time.
- Pick the right trail. Choose a route with clear signage, reliable tread, and bailout options. Avoid your first solo attempt on exposed scrambles, snow travel, river crossings, or faint social trails.
- Check official conditions. Look at the land manager’s website for closures, alerts, fire restrictions, road access, and permit notes. Use recent trip reports only as extra color, not the final word.
- Read the map before you go. Know the trailhead, junctions, high point, water crossings, and the spot where turning around still gets you back in daylight.
- Set a hard turnaround time. If sunset is 6:00 p.m., plan to be back at the car well before dark. A headlamp is backup, not permission to wander late.
- Leave a trip plan. Send one trusted person the trail name, trailhead, route, start time, expected finish time, vehicle description, and the time they should call for help if you miss contact.
- Pack for the unplanned. Bring navigation, insulation, light, food, water, first aid, sun protection, fire starter, repair items, and emergency shelter. The National Park Service 10 Essentials list is a solid baseline.
- Start early. Morning starts give you cooler temperatures, more parking options, firmer snow in some seasons, and more daylight to fix mistakes.
- Reassess at every junction. Ask: Is this still the right route? Do I have enough water? Is the weather holding? Am I moving on schedule?
What should you carry when hiking by yourself?
Carry enough to solve the first problem without creating a second one.
Your solo daypack does not need to feel like a weeklong expedition pack. It does need to cover navigation failure, weather changes, minor injury, darkness, and an unexpected wait. A twisted ankle 3 miles [5 km] from the trailhead is not dramatic if you can stay warm, signal, drink water, and move slowly. It gets serious fast if you are cold, out of water, and invisible.
| Item | Why it matters solo | Smart choice |
|---|---|---|
| Navigation | No partner to cross-check turns | Paper map plus downloaded offline map |
| Light | Delays happen quietly | Headlamp with spare power |
| Warm layer | Resting cools you fast | Insulating jacket, hat, rain shell |
| Emergency communication | Cell service is not guaranteed | Phone plus satellite messenger on remote routes |
- Water and a way to treat more water if sources exist
- Food with extra calories for a delay
- Small first aid kit with blister care
- Sun hat, sunglasses, and sunscreen
- Whistle and bright bandana or signal panel
- Knife or multitool and a few repair strips
- Emergency blanket or ultralight bivy
- ID, car key, payment card, and any personal medical information you need responders to know
How do you choose a good trail for your first solo hike?
Choose a trail that feels almost too easy.
That is not boring. That is smart. Your first trip alone is not the time to test route-finding, fitness, courage, and gear all at once. Pick one variable. Better yet, pick none.
A good first solo trail has obvious tread, frequent signs, moderate grade, and cell service for part of the route if possible. A loop can feel satisfying, but an out-and-back is often simpler because every landmark repeats on the return. If you get uneasy, tired, or weather shifts, turning around is clean.
Skip routes with heavy exposure, steep loose rock, confusing junctions, seasonal flooding, avalanche terrain, or long stretches above treeline until you have solo systems dialed. You are not proving anything by making the day more complex than it needs to be.
How do you stay found on a solo hike?
Use three layers: a route plan, active attention, and backup navigation.
Before you start, look at the map long enough to build a mental picture. The trail climbs north, crosses a creek, turns west at the junction, then reaches the overlook. Say it out loud if that helps. When the landscape matches the map, you feel grounded. When it does not, you notice sooner.
At junctions, stop walking. Look at the sign, your map, and the terrain. Many wrong turns happen because hikers keep moving while half-checking a phone. Do not let momentum make the decision.
- Download offline maps before leaving home.
- Carry a paper map where batteries cannot touch it.
- Mark the trailhead before you start.
- Look back often so the return view feels familiar.
- If you lose the trail, stop immediately instead of “just checking” farther ahead.
If you do get turned around, stop, breathe, add a layer if you are cooling down, and work from your last known point. Wandering burns daylight and confidence. Staying put for five focused minutes often fixes the problem.
What should you tell someone before you go?
Tell them exactly where to look if you do not come back.
A vague “I’m going hiking near Boulder” is not a trip plan. Your contact needs useful details, not vibes. Send the trailhead name, route, destination, planned mileage, expected start and finish times, your vehicle make and plate, and what gear you are carrying if the route is remote.
Also agree on the panic time. If you expect to text by 3:00 p.m., maybe they wait until 5:00 p.m. before taking action, depending on the trail and service. The key is making that decision before the hike. Nobody should be guessing while you are overdue.
When you finish, check in right away. That last text matters. If plans change during the hike and you have service, send an update. If you do not have service, follow the original plan or choose the safest shorter option.
What are the biggest solo hiking mistakes?
The biggest mistake is pretending small red flags are harmless.
Solo trouble usually builds in layers. You start late. You forget the headlamp. You push past the turnaround time. You keep going after the trail gets faint. You ignore the dark clouds because the summit is close. None of those choices has to be fatal. Together, they can box you in.
- Starting too late: You lose your best safety margin before the hike begins.
- Depending only on a phone: Batteries die, screens break, and cold drains power.
- Chasing the objective: The summit, lake, arch, or viewpoint will still be there another day.
- Wearing new shoes: Blisters feel bigger when every step back is yours alone.
- Ignoring weather: Wind, heat, lightning, and cold rain change the risk fast.
- Leaving the marked route: Shortcuts create searches. Stay on trail unless your plan and skills support off-trail travel.
How do you handle wildlife when you are alone?
Give wildlife space and make yourself predictable.
Most animal encounters end quietly when you do not crowd, surprise, feed, or follow the animal. Solo hikers should be especially careful in noisy terrain such as creeks, thick brush, and windy ridges because animals may not hear you coming. Use your voice before blind corners. A calm “hey bear” or “coming through” carries better than silent footsteps.
Store food securely, keep snacks out of pockets when you stop, and never leave crumbs at a viewpoint. If a trail has posted wildlife guidance, follow that local guidance first. Bear country, desert bighorn habitat, elk calving areas, and alligator country do not play by one universal script.
If an animal changes its behavior because of you, you are too close. Back up. Give it an exit. Do not approach for photos. Your phone camera is not worth a charge, bite, kick, or rescue call.
How do you manage weather, heat, and lightning alone?
Check the forecast, then watch the sky like the forecast can be wrong.
Heat hits harder when you are alone because there is nobody to notice you getting sloppy. Start early, slow your pace, drink steadily, and turn around if you stop sweating normally, feel confused, become dizzy, or cannot cool down. Mayo Clinic’s guidance on heat exhaustion symptoms is a good medical reference for recognizing warning signs.
Ticks are another trail problem that rewards boring prevention. Use an EPA-registered repellent, stay out of brush when you can, and check your body and clothing after the hike. The CDC’s tick bite prevention guidance also recommends showering after coming indoors and checking gear and pets.
For lightning, the safest choice is to avoid exposed places before the storm reaches you. If you hear thunder, leave ridges, summits, open fields, isolated trees, and metal features. Wilderness Medical Society guidance on lightning injury prevention treats thunder as a trigger to move away from high-risk terrain.
When to see a doctor
Get medical help fast for severe, worsening, or unusual symptoms after a hike.
Do not diagnose yourself on the tailgate. Seek urgent help if you have confusion, fainting, chest pain, trouble breathing, signs of heat stroke, a serious fall, a deep wound, or symptoms that do not improve after rest, cooling, food, and fluids. If you were bitten by a tick and later develop a rash, fever, aches, or other concerning symptoms, contact a healthcare professional and mention the tick bite.
For bites, stings, allergic reactions, head injuries, and possible dehydration, be conservative. Solo hikers are good at pushing through discomfort. That grit helps on climbs, but it can delay care when your body is waving a flag.
How do you build confidence for solo hiking?
Build confidence with repetition, not bravado.
Take the same easy trail alone twice. Then add distance. Then add a new trail. Then add a little elevation. That slow build teaches you how your mind reacts when the woods get quiet, when you hear a branch snap, when the trail seems longer than the map promised, or when clouds start stacking over the ridge.
Confidence also comes from clean habits. Pack the night before. Check the map at breakfast. Text your trip plan before driving. Start the hike with your headlamp, not buried under spare socks. Turn around when you said you would. Each small promise you keep makes the next solo trip feel less dramatic.
And if you feel uneasy? Listen. Fear is not always wisdom, but discomfort is information. You can turn around for any reason: weather, gut feeling, sore knee, weird parking lot, too much mud, too little water. The trail does not care. Go home safe.
Related reading
- A Walk in the Woods: Bill Bryson's AT Story vs Reality
- Kids' Hiking Boots: How to Size and When to Buy
- Mountain Porters: The People Who Carry Expeditions
- Teaching Leave No Trace to Kids
FAQ
Is it weird to go hiking alone?
No. Many hikers enjoy the quiet, flexible pace, and sharper attention that come with being alone. The key is planning the hike as a solo outing from the start, not treating it like a group hike with fewer people.
What is the safest time of day to start a solo hike?
Morning is usually safest. You get more daylight, cooler temperatures in warm seasons, and more time to fix delays before dark.
Should I wear headphones while solo hiking?
Skip them or use only one earbud at low volume. You need to hear other hikers, bikes, animals, wind, water, and weather changes.
Do I need a satellite messenger for every solo hike?
No, not for every short, popular trail with reliable service. Consider one for remote routes, weak cell areas, shoulder seasons, solo backpacking, or hikes where injury would leave you waiting a long time for help.
What should I do if I feel unsafe on the trail?
Leave early and calmly. Turn around, move toward other hikers or the trailhead, call or message your contact if you have service, and trust your instincts without waiting for proof.
How far should my first solo hike be?
Keep it short: under 5 miles [8 km] is a smart target for many hikers. Pick a familiar route with modest elevation gain, clear signs, and enough daylight that you are not rushing back.