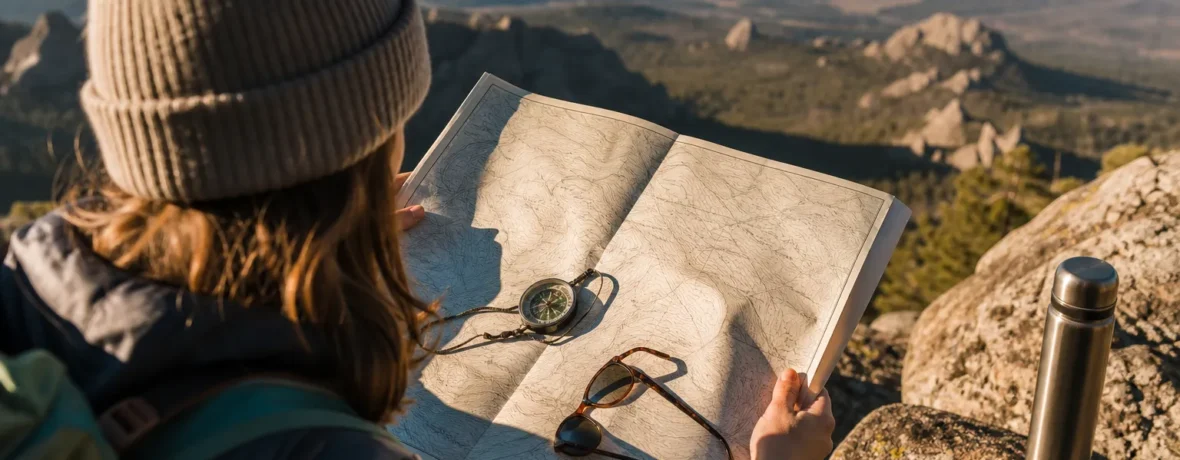
To read a topographic map, start with the scale, contour interval, legend, and north arrows. Then read contour lines: tight lines mean steep ground, wide lines mean flatter ground, and V-shapes point uphill in drainages. Use landmarks, distance, and direction together before you trust any route.
A topographic map is the hiking map that tells you what the ground actually does. Not just where the trail goes. Not just where the road ends. It shows ridges, gullies, saddles, summits, cliffs, streams, lakes, roads, boundaries, and elevation changes on a flat sheet of paper or screen.
The key is learning to see the land in the lines. Once you can do that, you stop treating the map like a confusing brown spaghetti plate and start using it as a decision-making tool.
How do you learn how to read a topographic map?
Read the map in this order: title, scale, contour interval, legend, north arrows, then terrain features.
That order saves you from guessing. A topo map is packed with detail, but the margins tell you how to use it. On many U.S. hiking maps, especially USGS 7.5-minute quadrangles, the scale is 1:24,000, which means 1 inch on the map equals 2,000 feet on the ground, according to the U.S. Geological Survey explanation of quadrangle maps.
- Find the map title. This tells you the area covered. A USGS quadrangle is often named for a prominent feature in that area.
- Check the scale. Scale tells you how map distance converts to ground distance.
- Find the contour interval. This tells you the vertical change between contour lines, often printed near the scale bar.
- Study the legend. Trails, roads, streams, boundaries, buildings, and land cover all have symbols.
- Find north. Most topo maps show true north, grid north, and magnetic north.
- Read the contour pattern. Look for ridges, valleys, saddles, peaks, cliffs, and flat benches.
- Match the map to the ground. Confirm what you see with what the map shows before making route choices.
Do not start by staring at the trail line. Start with the structure of the map. The trail is only one part of the story.
What do contour lines mean on a topographic map?
Contour lines connect points of equal elevation.
If a contour line is marked 6,000 feet [1,829 m], every point along that line sits at 6,000 feet [1,829 m] above sea level. The next contour line might be 6,020 feet [1,835 m], 6,040 feet [1,841 m], or some other interval, depending on the map.
The USGS describes contour lines as the defining feature of a topographic map because they show the height and shape of the land. That is what separates a topo map from a basic road map or a pretty park brochure.
Here is how to read the spacing:
- Lines close together: steep slope.
- Lines far apart: gentle slope or flat ground.
- Lines that touch or nearly touch: cliff, bluff, cutbank, or very steep terrain.
- Closed circles: hilltop, summit, knob, or depression.
- Thicker brown lines: index contours, usually labeled with elevation.
Index contours are your friends. They keep you from counting every single thin line across the map. Find a labeled index contour, check the contour interval, then count up or down.
How do you read contour lines for hiking?
For hiking, contour lines tell you how hard the route will feel and where the land will funnel you.
A trail that crosses many contour lines in a short distance climbs or drops fast. A trail that follows one contour line stays relatively level. A trail that cuts diagonally across contours usually climbs or descends at a more moderate grade.
Use this quick comparison:
| Contour pattern | Terrain meaning | Hiking takeaway |
|---|---|---|
| Tight, stacked lines | Steep slope | Expect slower travel and harder footing |
| Wide-spaced lines | Gentle or flat ground | Usually easier walking |
| V-shapes pointing uphill | Valley or drainage | Look for water, brush, mud, or colder air |
| U-shapes or V-shapes pointing downhill | Ridge or spur | Good handrail, viewpoint, or travel feature |
One clean habit: trace the trail with your finger and say what happens out loud. “Climb 400 feet [122 m] to the saddle, contour around the basin, drop into the creek, then climb the ridge.” If you cannot say it simply, keep studying the map.
How can you tell uphill and downhill on a topo map?
Use labeled contour numbers, water flow, and the shape of the lines.
The easiest method is reading the elevation labels. If the numbers increase as you move across the map, you are going uphill. If they decrease, you are going downhill.
Drainages give you another clue. Contour lines form V-shapes where they cross streams, gullies, and creek beds. Those V-shapes point uphill. Water flows the opposite direction, downhill through the open end of the V.
Ridges work the other way. Contours bulge outward from high ground toward lower ground. On the map, ridges often look like fingers reaching down from a summit or high shoulder.
Look for these terrain features:
- Peak: closed contour rings with higher numbers toward the center.
- Depression: closed contour rings with hatch marks pointing inward.
- Saddle: low pass between two higher areas.
- Ridge: long high feature with ground dropping away on both sides.
- Valley: low feature where water, snowmelt, or cold air may collect.
- Bench: flatter shelf on a slope, often shown by wider contour spacing between steeper bands.
This is where a topo map starts to feel alive. The paper is flat, but the terrain is not.
What is map scale, and why does it matter?
Map scale tells you how much real ground is represented by a measured distance on the map.
At 1:24,000 scale, 1 inch equals 2,000 feet [610 m]. At 1:63,360 scale, 1 inch equals 1 mile [1.6 km]. A larger-scale map, such as 1:24,000, shows more detail than a smaller-scale map, such as 1:100,000.
For hiking, detail matters. Small streams, trail junctions, bends in ridges, and minor saddles can decide whether you stay found or walk past your turn. The National Park Service says its general park maps are not meant for backcountry hiking, water travel, mountaineering, or other specialized activities; for those uses, it points people toward USGS topographic maps.
| Scale | Ground distance | Best use |
|---|---|---|
| 1:24,000 | 1 inch = 2,000 feet [610 m] | Detailed hiking and off-trail route planning |
| 1:50,000 | 1 inch = 4,167 feet [1,270 m] | Longer trips where you need area coverage |
| 1:100,000 | 1 inch = 8,333 feet [2,540 m] | Regional overview, driving access, broad planning |
Do not judge distance by eyeballing the map. Use the scale bar. Better yet, carry a compass with a ruler edge, a small map tool, or a piece of cord you can bend along trail curves.
What is a contour interval?
A contour interval is the vertical elevation change between neighboring contour lines.
If the contour interval is 40 feet [12 m], each regular contour line is 40 feet [12 m] higher or lower than the next one. Count five lines and you have 200 feet [61 m] of vertical change. Count ten and you have 400 feet [122 m]. That adds up fast on a climb.
The contour interval changes from map to map. Flat terrain may use a smaller interval so subtle landforms show up. Mountain terrain may use a larger interval so the map does not become unreadable. The USGS map symbol guide explains that the contour interval is printed below the bar scale in the map marginalia.
Use contour intervals to estimate effort:
- 500 feet [152 m] of gain: noticeable climb.
- 1,000 feet [305 m] of gain: steady work for most hikers.
- 2,000 feet [610 m] of gain: a serious climb, especially with a pack.
- 3,000 feet [914 m] or more: big mountain day territory.
The map does not know your legs, weather, snow, heat, altitude, pack weight, or trail condition. It only gives you the shape of the ground. You still have to make the call.
How do you use a compass with a topographic map?
Use the compass to orient the map, take bearings, and connect what you see on the ground to what is printed on the map.
First, find north on the map. Most topo maps show true north, grid north, and magnetic north. Your compass needle points toward magnetic north, not true north. The angle between them is declination. If you ignore declination in the wrong place, your line of travel can drift.
Basic map-and-compass workflow:
- Place the map flat. Keep it away from metal, phones, knives, trekking poles, and magnets.
- Set or account for declination. Use the map’s declination diagram, but check that the map is current enough for your needs.
- Align the compass edge with your route. Put one edge from your current location to your destination.
- Rotate the bezel. Match orienting lines with north-south grid lines or map north.
- Hold the compass level. Turn your body until the magnetic needle matches the orienting arrow.
- Pick a visible target. Walk to a tree, rock, bend, or ridge point on that bearing, then repeat.
A compass does not replace terrain reading. It gives you direction. The map gives you context. Your eyes confirm both.
How do you plan a hiking route with a topographic map?
Plan by combining distance, elevation gain, terrain shape, water, escape options, and obvious landmarks.
Start with the whole route. Then break it into legs. A leg might run from the trailhead to a creek crossing, from the creek to a saddle, from the saddle to a summit, or from a junction to camp. Each leg should have a clear start, finish, direction, distance, and terrain cue.
Before you go, mark or write down:
- Trailhead location and elevation
- Major junctions
- Creek crossings and water sources
- Saddles, ridges, passes, and summits
- Steep slopes and cliff bands
- Possible bailout routes
- Private land, restricted areas, or boundary lines
- Expected high and low points
- Estimated total elevation gain and loss
Pay special attention to the descent. Tired hikers make sloppy choices late in the day, and downhill travel can be harder to control than climbing. On the map, look for long steep drops, confusing trail junctions, gullies that may pull you off course, and ridges that split into several spurs.
If you use a phone app, still learn the paper-map skill. Batteries die. Screens crack. Cold weather drains devices. A printed topo map weighs almost nothing and does not need service.
What do the colors and symbols mean on a topographic map?
Colors and symbols show natural and human-made features.
Exact symbols vary by map publisher, so always check the legend. On many USGS-style maps, brown shows contours, blue shows water, green shows vegetation, black shows many human-made features, red or purple may show roads, revisions, or special overprints, and white often shows open or lightly vegetated ground.
Common features include:
- Blue lines: streams, rivers, or drainages.
- Blue shapes: lakes, ponds, reservoirs, or wetlands.
- Black dashed lines: trails, tracks, or minor routes depending on the legend.
- Solid road lines: roads, classified by type.
- Green shading: forest or vegetation cover.
- Boundary lines: parks, wilderness, forests, counties, or private/public land divisions.
The USGS topographic map symbols guide is a handy reference if you want the full symbol set. Do not assume every dashed line is a maintained trail. Some are old roads, administrative routes, abandoned tracks, or map artifacts. Verify with a current local source before you count on it.
What mistakes should you avoid when reading a topo map?
The biggest mistake is reading one clue and ignoring the rest.
A topo map works best when you stack evidence. Contours, scale, compass direction, water features, trail junctions, landmarks, and your pace all need to agree. If they do not, stop moving and sort it out.
- Ignoring contour interval: You may underestimate a climb by hundreds of feet.
- Trusting old trails blindly: Trails move, fade, wash out, or get rerouted.
- Forgetting declination: Your compass bearing may be off enough to matter.
- Confusing ridges and valleys: Remember, contour V-shapes point uphill in drainages.
- Using a small overview map for backcountry travel: Pretty maps are not always field maps.
- Not orienting the map: Turn the map so north and the land line up.
- Walking while confused: Stop, drink water, look around, and relocate yourself.
Here is the trail rule that keeps people out of trouble: if the map, compass, and terrain do not agree, do not force the story. One of your assumptions is wrong.
Related reading
- How to Use a Compass for Hiking
- How to Waterproof a Tent: Seams, Rainfly and Floor
- How to Choose a Sleeping Bag: Temperature Ratings, Fill and Shape
- What Is Merino Wool and Why Hikers Swear By It
FAQ
What is the easiest way to read a topographic map?
Start with contour lines and scale. Learn that close contours mean steep ground, wide contours mean gentler ground, and the scale bar tells you real distance.
How do you know which way water flows on a topo map?
Contour V-shapes point upstream and uphill. Water flows the opposite direction, toward lower elevation and through the open end of the V.
What does 1:24,000 mean on a topo map?
It means 1 unit on the map equals 24,000 of the same units on the ground. In practical hiking terms, 1 inch equals 2,000 feet [610 m].
Can you hike with only a phone topo map?
You can, but you should not rely on it as your only tool in remote terrain. Carry a printed map and compass, and know how to use them if your battery, screen, or signal fails.
Are topo maps better than trail maps?
Topo maps are better for understanding terrain. Trail maps can be easier for following popular routes, but a topo map shows elevation, slope, drainages, ridges, and landforms that affect your choices.
Where can you get official USGS topographic maps?
You can get current and historical U.S. topo maps through USGS map tools and download sources. Start with the USGS guide to finding, downloading, or ordering topographic maps.