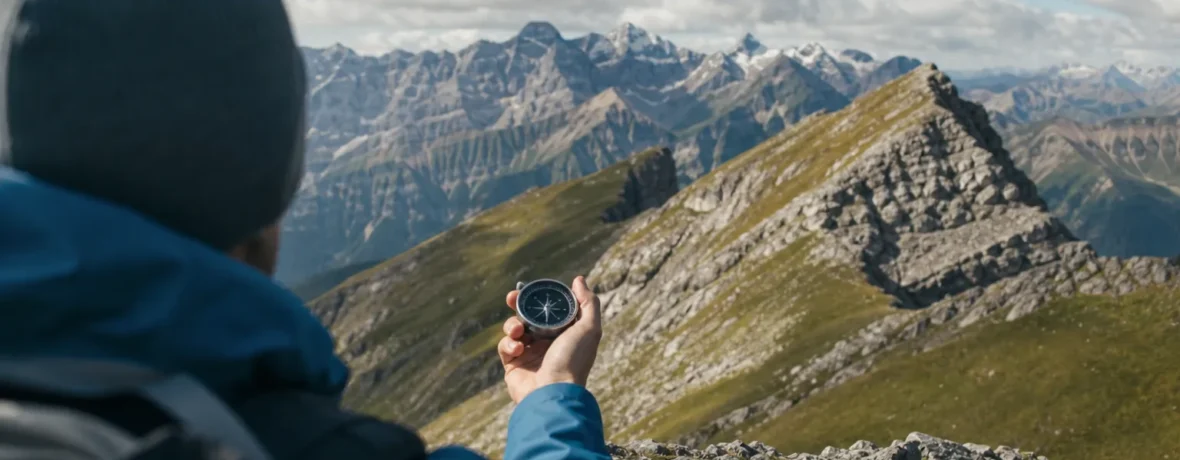
To use a compass, set your local declination, orient your map to north, place the compass edge on your route, rotate the bezel until the orienting lines match map north, then follow the bearing by keeping the red needle in the orienting arrow. Recheck every 5-10 minutes.
How to use a compass for hiking: what are the steps?
Use a compass by turning a map direction into a field direction, then walking that line with constant checks.
A baseplate compass looks simple, but it does three jobs at once. It points to magnetic north. It measures direction in degrees from 0 to 360. And it acts like a small ruler you can lay on a map. Once those three jobs click, the compass stops feeling like a mystery tool and starts feeling like a trail backup you should have carried years ago.
Here is the field-ready method.
- Get away from metal. Stand clear of cars, steel picnic tables, trekking poles, phones, large knives, power lines, and magnetic pack closures. Even a small magnet can pull the needle off line.
- Set declination. Adjust your compass for the local difference between magnetic north and true north, or write the correction on your map if your compass does not adjust.
- Find yourself on the map. Use trail junctions, lakes, ridges, peaks, roads, streams, or contour shapes. You need a known starting point.
- Place the compass edge on your route. Put one long edge from your current location to your destination. The direction-of-travel arrow should point where you want to go.
- Rotate the bezel. Turn the degree dial until the orienting lines inside the bezel line up with north-south grid lines on the map. Keep the compass baseplate still.
- Read the bearing. The index line now shows your bearing in degrees.
- Lift the compass flat in front of your chest. Turn your whole body until the red magnetic needle sits inside the orienting arrow. Many hikers call this “red in the shed.”
- Pick a landmark on that line. Choose a tree, boulder, saddle, opening, or cliff band you can reach without staring at the compass every step.
- Walk to the landmark. Then repeat: needle in the arrow, pick the next object, walk.
- Check the map often. Match what you see to landforms on the map. The compass keeps your direction; the map tells you if that direction still makes sense.
The biggest beginner mistake is trying to walk while glued to the needle. Don’t. Use the compass to choose a target, then walk naturally. If brush or cliffs push you off line, step around the obstacle and take a new bearing from the far side.
What parts of a hiking compass do you need to know?
You need six parts: baseplate, direction-of-travel arrow, rotating bezel, index line, orienting arrow, and magnetic needle.
| Compass part | What it does | Trail use |
|---|---|---|
| Baseplate | Clear plate with straight edges | Lay it on a map to connect your location and destination |
| Direction-of-travel arrow | Arrow printed on the baseplate | Points the way you intend to walk |
| Rotating bezel | Degree dial marked 0-360 | Sets or reads a bearing |
| Orienting arrow and lines | Markings inside the bezel | Line up with map north, then hold the magnetic needle |
A compass with an adjustable declination screw is easier for hiking in the United States, where declination can change noticeably from one region to another. A sighting mirror helps with long-distance bearings, but it is not required for normal trail use. A tiny button compass on a zipper pull is useful for a rough north check, not for serious backcountry navigation.
Look for a clear baseplate, liquid-filled needle housing, degree marks every 2 degrees, a ruler edge, and a lanyard. Skip novelty compasses. If the needle sticks, wobbles slowly, or does not settle in the same direction twice, it is not a navigation tool.
What is magnetic declination, and why does it matter?
Magnetic declination is the angle between true north on your map and magnetic north where your compass points.
Your map is drawn to true north. Your compass needle points to magnetic north. Those are not the same direction in most places. The USGS explains the north arrows on topographic maps: true north, grid north, and magnetic north can all appear in the map margin, and magnetic north changes over time.
If you ignore declination, your bearing can drift wide. On a short quarter-mile [0.4 km] hop through open terrain, you may still hit the trail. On a 2-mile [3.2 km] off-trail line through timber, a 10-degree error can send you hundreds of yards off target.
Get the current value from the NOAA magnetic declination calculator. Enter your location and date, then use that number before you trust a bearing. Printed map declination is tied to the map’s publication date, so an older map can show a stale value.
Here is the clean way to think about it:
- Adjustable compass: set the local declination once, then use map bearings normally.
- Non-adjustable compass: add or subtract the declination each time you move between map and field bearings.
- Digital map only: check whether the app displays true north, magnetic north, or grid north before copying a bearing.
A simple memory aid helps, but compass brands and map setups vary. Read your compass manual, then test at home with a known street grid before trusting the correction in the backcountry.
How do you orient a map with a compass?
Orient a map by lining up the compass needle with north, then turning the map until map north matches the compass.
This is the first move when you feel turned around. It makes the paper match the land in front of you. Ridges angle the same way. Trails bend the same way. Lakes sit on the correct side of your body. The map stops being an abstract drawing and starts acting like a picture from above.
- Set declination on the compass if your model allows it.
- Lay the map flat on the ground, a boulder, or your pack lid.
- Place the compass on the map with the direction-of-travel arrow pointing to the top of the map.
- Rotate the bezel so north, 0 degrees or 360 degrees, sits at the index line.
- Turn the map and compass together until the red needle sits in the orienting arrow.
- Keep the map still and compare terrain around you to terrain on the map.
On many topographic maps, north is the top of the sheet, but always check the margin. The USGS map and compass guide describes how scale bars, contour lines, and north references work together for field navigation.
Now use your eyes. If the map says a stream should run left to right below you, look for it. If the contour lines stack tightly to the west, expect steep ground there. If the trail crosses a ridge after a switchback, see if the shape fits. A compass points north; your brain still has to read the country.
How do you take a bearing from a map?
Take a map bearing by drawing a line from where you are to where you want to go, then reading that line with your compass.
This is the core skill for hiking through fog, forest, snowfields, desert flats, or confusing trail networks. It lets you leave a known point and travel toward another known point instead of wandering by feel.
- Mark your exact location on the map.
- Mark the destination: junction, saddle, lake outlet, summit, camp, road, or safe handrail.
- Place the compass edge through both points.
- Keep the direction-of-travel arrow aimed at the destination.
- Rotate the bezel until its orienting lines run parallel with the map’s north-south grid lines.
- Make sure the orienting arrow points north on the map, not south. This is the classic 180-degree mistake.
- Read the bearing at the index line.
- Lift the compass, turn your body until the magnetic needle fits inside the orienting arrow, and walk the direction-of-travel arrow.
Use a pencil if you are learning. Draw the route line lightly on the map, then erase it later. A straight line on paper may cross cliffs, marsh, private land, blowdown, or a river you cannot ford. The smartest bearing is often a safe bearing, not the shortest one.
How do you follow a compass bearing without drifting?
Follow a bearing by walking from landmark to landmark, not by staring at the dial.
Pick objects that sit directly on your bearing and are close enough to reach. In open country, that might be a lone pine, a light-colored boulder, a notch in a ridge, or the left edge of a meadow. In thick forest, it may be a tree 50-100 feet [15-30 m] away. In fog, it may be your hiking partner standing ahead while you direct them left or right.
Use these habits to stay tight:
- Hold the compass level. A tilted compass can bind the needle.
- Keep it away from metal. Your phone, watch band, belt buckle, and trekking poles can interfere.
- Use handrails. Follow a stream, ridge, shore, fence, or trail that runs near your bearing.
- Use catching features. Aim for a road, river, ridge crest, lake, or large trail that stops you if you overshoot.
- Aim off when needed. If you need to hit a small trail junction, aim slightly left or right of it so you know which way to turn when you reach the trail.
- Recheck often. A 10-second check every few minutes beats a 30-minute correction after you drift.
Pacing helps when the destination is hidden. Measure how many double-steps you take to walk 100 feet [30 m] on flat ground, uphill, and downhill. Terrain, fatigue, snow, sand, and blowdown change the count, so treat pacing as a guide, not a contract.
How do you find your location with a compass?
You can find your location by taking bearings to two or three visible landmarks and drawing those lines back on the map.
This is called triangulation or resection. It works best when you can see distinct features that also appear on your map: summits, fire towers, lake points, road bends, bridges, or ridge intersections.
- Orient your map.
- Pick a landmark you can identify with confidence.
- Point the direction-of-travel arrow at the landmark.
- Turn the bezel until the red needle sits inside the orienting arrow.
- Read the bearing.
- Convert it to a back bearing by adding 180 degrees if the bearing is less than 180, or subtracting 180 degrees if it is more than 180.
- Place the compass edge on the landmark on the map.
- Rotate the whole compass until the orienting lines match map north.
- Draw a line along the compass edge.
- Repeat with a second landmark. Your location is near the intersection. A third line gives a better check.
If the lines form a small triangle instead of one clean crossing, you are inside or near that triangle. Large triangles mean a bad landmark, sloppy bearing, wrong declination, or a map-location mismatch. Slow down. Redo it.
What compass skills should you practice before a real hike?
Practice in a park, neighborhood, or easy trail system before you need the skill in bad weather.
Navigation gets harder when you are cold, late, hungry, wet, or worried. Build muscle memory when the stakes are low. A half-hour session on a local soccer field can teach more than carrying an unused compass for five seasons.
- Set declination for your area.
- Orient a map to north.
- Take a bearing from the map to a visible object.
- Take a bearing from a visible object back to the map.
- Walk 100 yards [91 m] on a bearing and check your drift.
- Practice the 180-degree back bearing.
- Use two landmarks to estimate your location.
- Pack the compass where you can reach it, not buried under lunch and rain gear.
Do not wait until your phone dies to open the map. Use your digital tools, but keep your paper map and compass active enough that the backup is real. The National Park Service cautions that general park maps are not meant for specialized backcountry navigation, so carry a proper topographic map for remote routes.
What are the most common compass mistakes?
The most common mistakes are skipping declination, holding the compass near metal, and walking the bearing backward.
Most compass errors are not dramatic. They are small, quiet, and repeated. Ten minutes later, the drainage is wrong. Thirty minutes later, the trail never appears. Then the map “looks wrong,” even though the problem started with one rushed step.
- Forgetting declination: Your bearing is clean on the map but wrong in the field.
- Reversing north and south: The orienting lines match the map, but the orienting arrow points toward the bottom of the sheet.
- Following the needle instead of the travel arrow: The needle points north; the direction-of-travel arrow points where you go.
- Using the wrong landmark: Two similar peaks can wreck a triangulation.
- Trusting a phone compass beside metal: Electronics and magnets can skew readings.
- Failing to relocate: You keep walking after the terrain stops matching the map.
When something feels off, stop early. Orient the map. Take a sip of water. Identify two features. Check the bearing again. The trail does not reward speed when you are pointed the wrong way.
Related reading
- How to Use Bear Spray Correctly
- How to Use Trekking Poles Properly Uphill and Downhill
- How to Use the StairMaster Properly
- How to Waterproof a Tent: Seams, Rainfly and Floor
FAQ
Can I use a compass without a map?
Yes, but only for rough direction or following a known bearing. A compass without a map can tell you north, south, east, west, and degrees, but it cannot tell you what cliff, river, road, or private boundary sits ahead.
Do I still need a compass if I use GPS?
Yes, carry a compass and paper map when a navigation failure would matter. GPS is excellent, but batteries die, screens break, apps glitch, and cold weather can drain devices faster than expected.
What does “red in the shed” mean?
It means the red magnetic needle is sitting inside the orienting arrow in the compass bezel. Once that happens, the direction-of-travel arrow points along your selected bearing.
How accurate is a hiking compass?
A good baseplate compass is accurate enough for hiking when you set declination, hold it level, and keep it away from metal. Your bigger errors usually come from poor map reading, misidentified landmarks, or drifting while walking.
What is the easiest compass skill to learn first?
Start by orienting your map. Once the map matches the land around you, bearings, landmarks, contour lines, and trail junctions all become easier to understand.