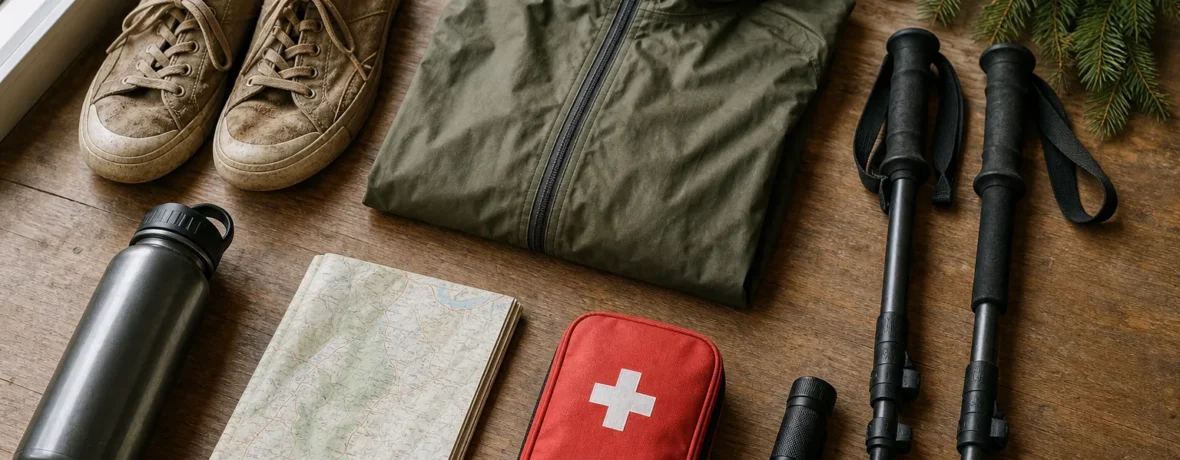
You can hike on a budget without gambling on safety: put the first 70% of your gear money into 5 things—shoes that fit, rain protection, water capacity or treatment, insulation, and navigation or light. Save on shirts, pants, cookware, camp pillows, and gadgets. Rent big overnight gear first.
How do you start hiking on a budget?
Start by buying less gear, not cheaper gear.
The hiking industry is very good at making you feel under-equipped. You need a 3-layer shell, a featherweight stove, merino everything, a quilt with a temperature rating that sounds like a dare, and a backpack named after a bird of prey. Or so the shelf tells you.
Here is the straighter truth: most beginners do not need a full kit. They need a safe day-hiking setup, a plan, and the discipline to stop buying “just in case” gear before they know what kind of hiking they actually like.
If you are hiking 3 to 8 miles [5 to 13 km] on marked trails in fair weather, your best budget move is to assemble a simple day kit first. The National Park Service Ten Essentials list is a strong baseline because it focuses on systems, not brands: navigation, sun protection, insulation, illumination, first aid, fire, repair tools, nutrition, hydration, and emergency shelter.
That does not mean you need to buy premium versions of all 10. It means every hike should have an answer for each system. A paper map can beat an expensive GPS if you know how to use it. A trash compactor bag can protect gear better than a branded pack cover. A cheap fleece can keep you warmer than a costly cotton hoodie.
What hiking gear is worth spending money on?
Spend on the gear that protects your feet, warmth, water, and ability to get back.
That is the position. Everything else is secondary. Not useless. Secondary.
Hiking gear becomes worth real money when failure would end the trip or create a safety problem. A blistered heel 4 miles [6.4 km] from the trailhead is not a fashion issue. A leaking rain jacket in cold wind is not a minor annoyance. A dead phone with no backup plan is not “minimalism.”
| Spend First | Why It Matters | Where to Save |
|---|---|---|
| Footwear that fits | Bad fit causes pain fast and can shorten every hike. | Skip trendy materials; fit beats hype. |
| Rain protection | Wet plus wind can turn a normal day ugly. | Buy last year’s model or used shells with intact fabric. |
| Water carry and treatment | You need a reliable way to drink and refill. | Use basic bottles instead of premium flasks. |
| Insulation | Temperature drops fast when you stop moving. | Fleece is cheap, durable, and good enough for many trips. |
| Navigation and light | Getting turned around or hiking after dark changes the stakes. | Pair a phone app with a paper map and a simple headlamp. |
Notice what is not at the top: titanium cookware, ultralight chairs, camp slippers, carbon trekking poles, satellite messengers for city park loops, and $90 sun hoodies. Those can be useful. They can also wait.
Can you hike in regular clothes?
Yes, if you avoid cotton in cold or wet conditions.
For warm, dry day hikes, the clothes you already own may be fine: synthetic gym shirt, running shorts, fleece, wool socks, baseball cap, and a wind layer. You do not need to look like a catalog spread to walk on dirt.
The hard line is cotton when conditions are cool, wet, windy, or changeable. Cotton holds moisture and dries slowly. A cotton sweatshirt can feel harmless at the trailhead and miserable at 4,000 feet [1,219 m] when sweat chills and clouds roll in.
Budget clothing priorities are simple:
- Base layer: synthetic workout shirt or wool if you already own it.
- Midlayer: fleece, not cotton.
- Rain layer: actual rain jacket, not a fashion windbreaker.
- Socks: wool or synthetic hiking socks.
- Hat and gloves: cheap, light, and easy to forget.
Buy clothing slowly. Hike in what you have, then replace the piece that actually failed. If your shirt was fine but your socks rubbed, buy socks. If your fleece kept you warm but your rain jacket soaked through, fix the rain layer. Let the trail audit your closet.
Should you spend more on hiking boots or trail shoes?
Spend more on fit, not on boots by default.
Some hikers need boots. Some do better in trail runners. Your ankles do not automatically deserve a tall leather fortress just because you are leaving pavement.
For many maintained trails, trail shoes are lighter, dry faster, and feel better right away. Boots can be better for rough terrain, heavy loads, snow, mud, off-trail travel, or hikers who prefer stiff support. The mistake is buying heavy boots because they look “serious,” then discovering they chew your heels after 2 miles [3.2 km].
Fit rules:
- Try footwear late in the day, when feet are slightly swollen.
- Wear the socks you will hike in.
- Leave toe room for downhill walking.
- Reject heel slip, hot spots, and pressure on the top of the foot.
- Walk stairs or an incline if the store has one.
Used footwear is risky unless it is barely worn. Shoes mold, midsoles compress, and waterproof liners age. Save money elsewhere first. Your feet are not the place for heroic thrift.
What should you not buy for hiking at first?
Do not buy specialty gear before you know your own habits.
Beginners often overspend on the fun stuff because the boring stuff feels, well, boring. A headlamp does not sparkle like a new pack. Water treatment does not feel like a personality. Rain pants will never look cool. Buy them anyway when the trip calls for them.
Delay these purchases:
- Big backpacking pack: rent or borrow until you know your shelter and sleep system size.
- Premium stove: simple canister stoves are enough for many trips.
- Camp chair: lovely, not essential.
- Expensive knife: a small, basic blade handles most trail tasks.
- Extra gadgets: if it needs charging but does not solve a real problem, wait.
- Ultralight upgrades: buy skill first, then grams.
There is a trap here. Cheap gear can become expensive when you replace it twice. But premium gear can be wasteful when it solves a problem you do not have. The middle path is not sexy: buy dependable basics, rent the big stuff, and upgrade only after repeated irritation.
How do you build a hiking kit without wasting money?
Build it in order, one real need at a time.
A budget hiking kit should grow like a toolkit, not like a shopping spree. Start with day hikes. Add foul-weather capacity. Then add overnight gear only if you actually want to sleep outside.
- Pick the hike first. Distance, elevation gain, weather, and remoteness decide the kit.
- Check what you already own. Gym clothes, fleece, bottles, sunglasses, and a phone battery pack may cover more than you think.
- Fill safety gaps. Navigation, light, water, insulation, rain protection, and first aid come before comfort luxuries.
- Borrow for the first overnight. A tent, pack, sleeping pad, and stove are easy to borrow badly and expensive to buy blindly.
- Buy used where wear is easy to inspect. Packs, fleece, rain pants, cook pots, and trekking poles are good candidates.
- Buy new where hidden wear matters. Footwear, water filters, critical rain shells, and sleeping bags with unknown storage history deserve caution.
- Upgrade the item you complain about 3 times. Once is weather. Twice is bad luck. Three times is data.
That last rule will save you money. If you grumble about a heavy pack on one steep climb, you may not need a new pack. If you hate it on every hike, adjust the fit, reduce what you carry, then consider replacing it.
Is used hiking gear a good idea?
Yes, if the item has no hidden safety-critical failure.
Used gear is the best friend of hiking on a budget. It is also where optimism goes to die if you do not inspect carefully.
Good used buys include fleece, synthetic layers, cook pots, simple stoves in good condition, trekking poles, packs, dry bags, foam sleeping pads, gaiters, and some tents if you can pitch them before paying. Look for working zippers, intact buckles, no peeling coatings, no mildew smell, and no mystery repairs in load-bearing areas.
Be more careful with used sleeping bags, inflatable pads, water filters, and waterproof-breathable jackets. A sleeping bag stored compressed for years may not loft well. An inflatable pad can hide a slow leak. A water filter can be damaged by freezing. A rain shell can look fine and wet out quickly.
Used does not mean dirty, doomed, or second-rate. It means you need to inspect like a grown-up.
Are permits, passes, and fees worth budgeting for?
Yes, because access costs are part of the trip, not a surprise tax at the end.
Gear gets the attention, but fees can shape your real hiking budget. National parks, forests, state parks, trailheads, shuttle systems, and reservation platforms all have different rules. Check the official land manager before you go, not a random blog post from 2019.
As of November 2026, the National Park Service entrance pass page lists the America the Beautiful Resident Annual Pass at $80 for U.S. citizens and residents, and the Non-Resident Annual Pass at $250 for non-U.S. residents. That can be a smart buy if your year includes multiple fee sites, but a poor buy if you mostly hike free local trails.
As of November 2026, Recreation.gov reservation policies list an $8 online service fee for many campsite, day-use, group-site, cabin, lookout, and yurt reservations, with different fees for permits and location-specific exceptions. Read the individual page before you commit, because the cancellation terms can matter as much as the listed price.
The budget stance here is simple: pay for access when it protects the place, manages crowds, or keeps your trip legal. But do not assume famous equals better. County parks, national forests, Bureau of Land Management areas, greenways, and state recreation areas can deliver excellent hiking with lower or no entrance costs.
When should you rent instead of buy hiking gear?
Rent when the gear is expensive, bulky, seasonal, or new to you.
Rental gear is not wasted money. It is tuition. A rented backpacking pack can teach you what volume you need. A rented bear canister can save you from buying the wrong size. A rented winter sleeping bag can keep a rare cold-weather trip from wrecking your gear budget.
Rent or borrow before buying:
- Tents
- Backpacking packs
- Sleeping bags for unusual temperatures
- Bear canisters
- Snowshoes
- Microspikes or traction devices, if you only need them once
- Satellite messengers for one remote trip
Buy when you use the item often, when fit is personal, or when reliability depends on care history. Footwear, socks, base layers, rain shells, headlamps, and personal first-aid items usually belong in your own kit.
When to see a doctor
Get medical help when symptoms are serious, worsening, or out of proportion to the hike.
This article is not a diagnosis guide. Hiking discomfort is common; medical warning signs deserve a professional. Seek urgent help for chest pain, trouble breathing, confusion, fainting, severe allergic reactions, suspected fracture, deep wounds, head injury, heat illness symptoms that do not improve with cooling and rest, or hypothermia concerns.
Ticks deserve attention too. The CDC tick-bite prevention guidance recommends EPA-registered repellents and clothing or gear treated with 0.5% permethrin to reduce tick exposure. After hiking in tick habitat, check your body and gear, remove attached ticks promptly, and contact a clinician if you develop concerning symptoms after a bite.
What is the smartest way to save money on hiking?
Spend where failure hurts and save where comfort is optional.
That is the whole argument. Hiking on a budget is not about being cheap. Cheap refuses to spend. Budget-minded spending is sharper: it says yes to the boring thing that keeps you safe and no to the shiny thing that only photographs well.
Use this quick checklist before you buy anything:
- Does this solve a problem I have had more than once?
- Will failure create a safety issue or just discomfort?
- Can I borrow or rent it first?
- Can I buy it used without hidden risk?
- Will a simpler version do the same job?
- Am I buying for the hike I do, or the hiker I imagine becoming?
The best hikers are not the ones with the most expensive kits. They are the ones who know what they are carrying and why. Buy fewer things. Buy the right things. Then wear them out.
Related reading
- Type 2 Fun: Why Hard Hikes Feel Good Later
- The Seven Summits Explained
- What Is Geocaching?
- What Is Hiking, Really? A Definition Worth Arguing About
FAQ
What is the minimum gear needed for a day hike?
You need footwear that fits, weather-appropriate layers, water, food, navigation, sun protection, a headlamp, a small first-aid kit, and an emergency layer or shelter. The exact kit depends on distance, weather, terrain, and how far you are from help.
Is hiking an expensive hobby?
No, day hiking does not have to be expensive. Costs rise when you add backpacking, winter travel, remote permits, travel, or ultralight gear, but local day hikes can stay lean if you buy only the essentials.
Are cheap hiking shoes okay?
Yes, if they fit well and match the trail. Cheap shoes that rub, lack traction, or collapse under your foot are a bad deal, but lower-priced trail shoes can work well for maintained routes.
Should beginners buy a backpacking setup right away?
No, beginners should rent or borrow overnight gear first. A tent, pack, sleeping bag, and pad are expensive, and you will make better choices after one or two real trips.
What should I upgrade first?
Upgrade the item causing repeated pain, safety risk, or trip-ending frustration. For most hikers, that means footwear, rain protection, sleep comfort for backpacking, or pack fit—not gadgets.