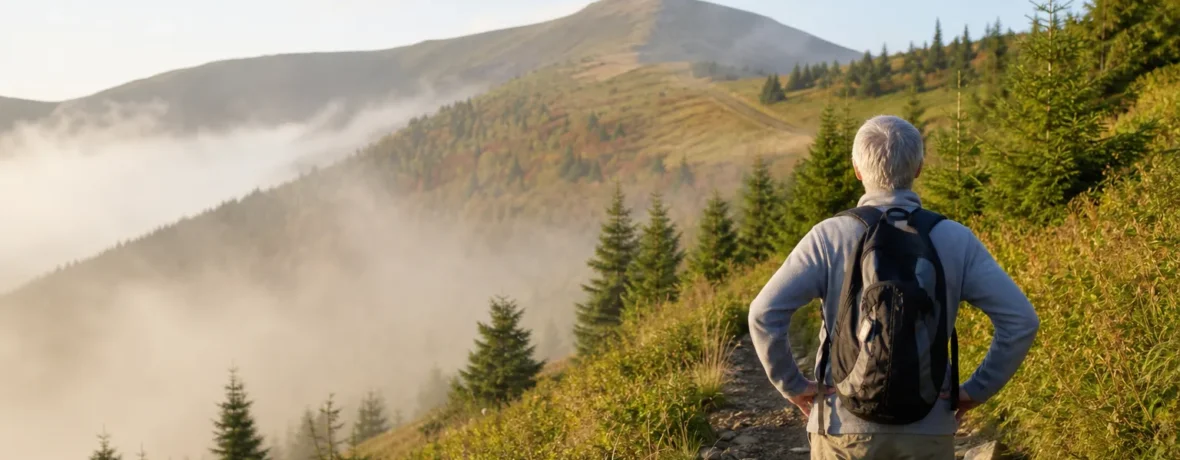
Yes, hiking at 60 is realistic if you start with short, low-elevation trails, build gradually, and respect existing health issues. Begin with 1 to 3 miles [1.6 to 4.8 km], carry water, use supportive footwear, and add distance or climbing only when you recover well the next day.
Can you start hiking at 60?
Yes, you can start hiking at 60.
The trick is not acting like you need to “catch up.” You do not. You need a clean start, a smart pace, and a trail that matches your current body instead of your memory of what your body did at 35.
Hiking is walking with consequences: uneven ground, weather, climbs, descents, roots, rocks, and fewer benches. That sounds blunt because it should. The trail rewards patience and punishes ego. If you begin with short hikes, keep your effort moderate, and train your legs between outings, you can build a hiking habit that feels strong instead of reckless.
The CDC’s physical activity guidance for older adults recommends weekly aerobic activity, muscle-strengthening work, and balance training for adults 65 and older. Hiking can cover some of the aerobic piece, but strength and balance work still matter. Especially downhill. Downhill is where knees, hips, and confidence get tested.
How do you start hiking at 60 safely?
Start smaller than you think you need to.
Your first goal is not a summit. Your first goal is finishing with enough energy to drive home, unpack, eat, and wake up the next day without feeling wrecked. That is how you build consistency.
- Pick an easy trail first. Choose 1 to 3 miles [1.6 to 4.8 km], packed dirt or gravel, modest elevation gain, and clear signage.
- Check the trail surface. “Easy” can still mean slick rock, loose gravel, mud, or roots. Read recent trail reports when available.
- Walk at talk pace. You should be able to speak in short sentences. If you can only gasp out a word, slow down.
- Turn around early. Your hike is not half done at the viewpoint. It is half done when you still have enough legs to return safely.
- Add one challenge at a time. Increase distance, elevation, pack weight, or roughness. Not all four in the same week.
- Use poles before you “need” them. Trekking poles help with rhythm, balance, and downhill control.
- Take notes after each hike. Write down distance, elevation, shoes, pack weight, weather, pain points, and how you felt the next morning.
Give yourself 4 to 6 weeks of easy outings before chasing harder trails. Your heart and lungs may improve quickly. Tendons, feet, knees, and hips often take longer to adapt.
How fit do you need to be to hike at 60?
You need enough fitness to walk steadily, recover well, and stay balanced on uneven ground.
That does not mean you need a gym body. It means you need trail-useful fitness: legs that can climb, hips that can stabilize, feet that can handle uneven surfaces, and lungs that do not panic on a grade.
A practical starting benchmark: you can walk 30 minutes on mostly flat ground without chest pain, dizziness, unusual shortness of breath, or joint pain that changes your gait. If that is too much right now, start with 10 minutes. Then repeat. Small work counts when you stack it.
The National Institute on Aging recommends warming up, cooling down, and increasing physical activity gradually. That advice fits hiking perfectly. Five minutes of easy walking before a climb is not wasted time. It is insurance.
| Current comfort level | Good first hike | What to train next |
|---|---|---|
| 10-minute neighborhood walks | 0.5 to 1 mile [0.8 to 1.6 km] on flat, even trail | Walking frequency and gentle balance work |
| 30-minute walks feel fine | 1 to 3 miles [1.6 to 4.8 km] with light climbing | Leg strength, hills, and longer walks |
| 60-minute walks feel fine | 3 to 5 miles [4.8 to 8 km] with moderate elevation | Downhill control and pack comfort |
| You already climb stairs or hills often | 5 miles [8 km] or more if conditions are mild | Rougher terrain, pacing, and endurance |
What gear do you need for hiking at 60?
You need stable footwear, weather protection, water, navigation, and a way to manage small problems before they become big ones.
Do not buy the heaviest boots in the store because they look serious. Heavy boots can help on rough trails or with weak ankles, but many new hikers do better in lightweight hiking shoes with good traction. Fit beats category. Your toes need room on descents. Your heel should not slide. Hot spots are warnings, not character tests.
Use this starter checklist:
- Hiking shoes or boots with grippy soles
- Moisture-wicking socks; carry a spare pair on longer hikes
- Small daypack with a waist belt or sternum strap
- Water bottle or hydration reservoir
- Snacks with salt and carbohydrates
- Rain shell or wind layer
- Warm layer, even when the parking lot feels mild
- Sun hat, sunglasses, and sunscreen
- Printed map or downloaded offline map
- Headlamp, not just a phone flashlight
- Basic first-aid kit with blister care
- Trekking poles, adjusted so your elbows sit near 90 degrees on flat ground
Carry the “small boring things.” A blister pad, headlamp, and warm layer feel excessive until the one day they do not. Trails get dark. Weather shifts. Feet complain.
How far should a 60-year-old beginner hike?
A 60-year-old beginner should usually start with 1 to 3 miles [1.6 to 4.8 km].
Distance alone is a poor judge. A flat 3-mile [4.8 km] rail trail and a rocky 3-mile mountain route are different animals. Elevation gain, footing, heat, altitude, mud, and pack weight all change the job.
For your first month, use this simple rule: finish feeling like you could walk another 15 minutes. That does not mean you should walk another 15 minutes. Save it. The reserve is what gets you home safely if the trail is longer than expected, the weather turns, or your knee starts grumbling.
A sensible progression looks like this:
- Weeks 1-2: 1 to 2 miles [1.6 to 3.2 km], low elevation, easy surface.
- Weeks 3-4: 2 to 3 miles [3.2 to 4.8 km], mild hills, same easy pace.
- Weeks 5-6: 3 to 5 miles [4.8 to 8 km], more uneven ground or more climbing, not both.
- After week 6: Add distance only if your feet, knees, hips, and energy recover well within 24 to 48 hours.
Pain that changes how you walk is a stop sign. Ordinary effort feels like warm muscles and heavier breathing. Problem pain feels sharp, lopsided, worsening, or joint-deep. Learn the difference early.
How do you protect your knees while hiking after 60?
Protect your knees by strengthening your legs, shortening your stride, using poles, and treating descents with respect.
Most new hikers blame the climb. Then the descent teaches the real lesson. Going downhill loads the knees differently and asks your quadriceps to act like brakes. If those brakes are weak or tired, your knees take the bill.
Use these knee-friendly habits:
- Shorten your steps downhill. Big lunging steps increase impact.
- Keep your knees soft. Do not lock them out on descents.
- Plant poles slightly ahead of you. Let your arms share some of the work.
- Step around high drops when you can. A longer switchback is kinder than a straight stomp down.
- Train your hips and glutes. Side steps, sit-to-stands, and gentle step-ups can help control knee tracking.
- Do not ignore swelling. Swelling means the joint is irritated.
Balance work belongs here too. The Mayo Clinic’s balance exercise guidance says older adults especially need balance exercises to help prevent falls. On trail, balance is not a gym extra. It is what keeps a toe catch from becoming a hard landing.
Try simple balance work at home: stand near a counter, shift weight from foot to foot, practice standing on one foot, and do slow sit-to-stands from a chair. Keep it controlled. Wobbling is feedback. Falling is not the plan.
What should you eat and drink on a hike at 60?
Eat before you are drained and drink before you are thirsty.
For short hikes under 90 minutes in mild weather, water and a small snack may be enough. For longer hikes, hot weather, or steady climbing, bring more. Your appetite may dip while walking, so pack food you will actually eat: trail mix, a peanut butter sandwich, cheese and crackers, dried fruit, bars, pretzels, or a banana.
Heat needs special respect. Older hikers can get into trouble when heat, effort, dehydration, medications, and pride stack up. The Wilderness Medical Society heat illness guidelines emphasize removing a person from heat and using supportive cooling and hydration for minor heat illness. On a hike, that means shade, rest, cooling the body, and turning around before symptoms worsen.
Watch for:
- Unusual dizziness
- Nausea
- Headache that builds during heat
- Confusion or clumsy movement
- Chills or goosebumps in hot weather
- Muscle cramps that do not settle with rest
If confusion, collapse, or altered behavior appears, treat it as urgent. Stop hiking and seek emergency help. Do not try to “walk it off.”
How should you train between hikes?
Train with walking, strength, balance, and mobility.
You do not need a complicated plan. You need repeatable work. Two or three short sessions per week can change how secure you feel on trail.
Here is a simple weekly structure:
- Walk 3 days: 20 to 45 minutes at an easy to moderate pace.
- Strength train 2 days: Sit-to-stands, wall pushups, step-ups, calf raises, and light rows.
- Balance 3 days: One-foot stands near support, heel-to-toe walking, slow weight shifts.
- Mobility most days: Gentle ankle circles, hip circles, shoulder rolls, and calf stretching.
Keep strength work smooth. No jerking. No breath-holding. If an exercise causes sharp pain, stop and swap it for an easier version. A physical therapist can be a smart investment if you have old injuries, joint replacements, recurring back pain, or a pattern of falls.
What mistakes should new hikers over 60 avoid?
The biggest mistake is doing too much too soon.
That one mistake wears many costumes: too many miles, too much elevation, too much pack weight, brand-new boots on a long trail, starting too late, skipping food, ignoring weather, refusing to turn around. The trail does not care how motivated you are. It responds to preparation.
Avoid these common traps:
- Starting with a famous trail. Popular does not mean beginner-friendly.
- Wearing cotton as your main layer. Wet cotton chills fast and dries slowly.
- Depending only on your phone. Batteries die, screens crack, and service disappears.
- Trying new shoes on a long hike. Test footwear on short walks first.
- Following faster hikers. Their pace is not your assignment.
- Skipping turnaround times. Decide when you will turn back before you start.
- Hiding symptoms. Tell your hiking partner early if you feel dizzy, weak, chilled, overheated, or unsteady.
If you hike with younger family members, set the rules before leaving the trailhead. You are not “holding people back” by pacing correctly. You are managing the day like an adult.
When to see a doctor
See a doctor before hiking if you have symptoms, unstable health conditions, or concerns that make exercise feel risky.
Many healthy adults who start gradually do not need a medical appointment before easy activity. The National Institute on Aging says older adults without an existing injury or chronic condition who plan to increase activity gradually generally do not need to talk with a doctor first. But that does not apply to everyone.
Make an appointment before starting or increasing hikes if you have:
- Chest pain, pressure, or unexplained shortness of breath with exertion
- Fainting, near-fainting, or unexplained dizziness
- A recent fall or fear of falling
- New, worsening, or one-sided weakness
- Diabetes, heart disease, lung disease, or another chronic condition that affects exertion
- Recent surgery or a joint replacement with unclear activity limits
- Foot numbness, balance problems, or neuropathy
- Knee, hip, back, or ankle pain that changes how you walk
For knee trouble, the Mayo Clinic’s knee pain guidance recommends urgent care after major injury when the joint is deformed, cannot bear weight, has intense pain, or swells suddenly. Do not self-diagnose trail pain. Get checked when pain is severe, persistent, swollen, warm, red, or paired with fever.
Related reading
- How to Do Cardio at Home Without Equipment
- A Walk in the Woods: Bill Bryson's AT Story vs Reality
- Kids' Hiking Boots: How to Size and When to Buy
- Mountain Porters: The People Who Carry Expeditions
FAQ
Is 60 too old to start hiking?
No, 60 is not too old to start hiking. Begin with short, easy trails and build gradually so your muscles, joints, balance, and confidence adapt together.
How many miles should I hike as a beginner at 60?
Start with 1 to 3 miles [1.6 to 4.8 km]. Choose less distance if the trail is steep, rocky, hot, muddy, or unfamiliar.
Are trekking poles necessary for older hikers?
No, trekking poles are not required, but they are useful. They can improve stability, help with rhythm, and reduce the strain of long descents.
What is the best pace for hiking at 60?
The best pace is one you can hold while speaking in short sentences. If you are gasping, stumbling, or needing frequent emergency-style stops, slow down.
Should I hike alone at 60?
You can hike alone on easy, familiar trails if you are prepared and someone knows your plan. For remote trails, rough terrain, heat, cold, or longer routes, hiking with a partner is the safer choice.
What should I do if my knees hurt during a hike?
Stop, rest, shorten your stride, use poles if you have them, and turn back if pain changes your gait. If pain is severe, swollen, warm, persistent, or linked to an injury, get medical care.