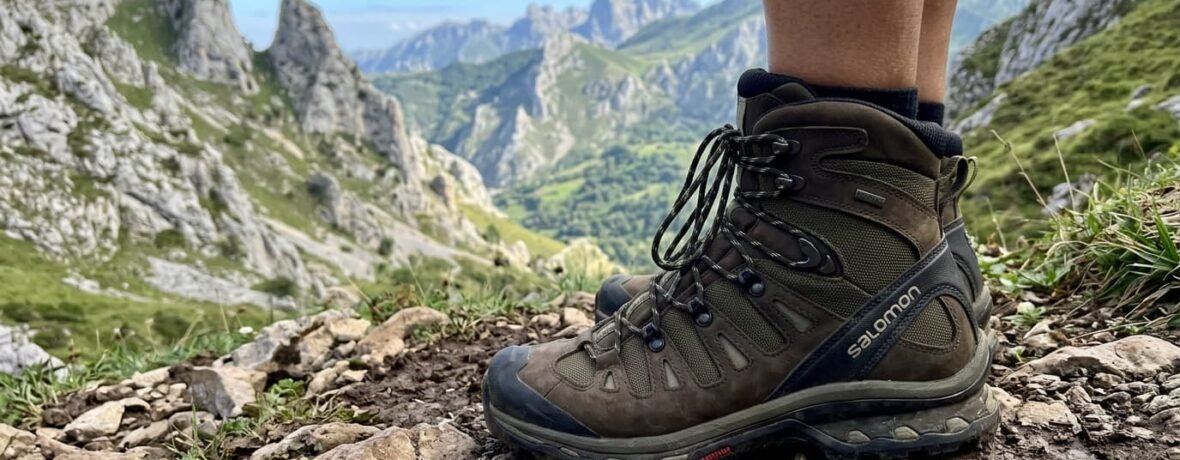
Every boot review in the world is worth less than twenty minutes spent fitting the pair in front of you.
Measure both feet in the evening and fit to the larger one. Feet are rarely the same size.
The best boot in any test is the one that fits your foot, and no rating table can know that. Fit is the difference between finishing a 20 km day feeling capable and finishing it with a blister the size of a coin under your heel. This guide explains how to choose hiking boots properly, in the order that actually matters: shape, volume, length, then features.
Two facts underpin everything below. First, feet swell across a hiking day, typically by half a size or more. Second, most people have one foot noticeably larger than the other. Fit to the bigger foot at the end of the day, and you have already avoided the two most common sizing errors.
The fitting process, step by step
Start by measuring. Stand on a piece of paper, trace both feet, and measure length and the widest point of the forefoot. Compare against the brand’s size chart rather than assuming your usual number. Then try boots in the afternoon or evening, wearing the socks you actually hike in and any insole you use, because both change volume significantly.
Check length with the boot unlaced: slide your foot forward until the toes touch, and you should fit one finger behind the heel. Lace up, push your heel back and confirm a thumb’s width in front of the longest toe. Then check width — the ball of your foot should sit at the widest part of the boot, spreading without pushing over the midsole edge. Finally, walk a ramp if the shop has one. More than about 5 mm of heel lift on the climb means the boot is wrong.
Volume, insoles and the fix for a boot that is nearly right
Length and width get all the attention, but volume — the space through the instep and midfoot — is what actually holds your heel in place. A boot with correct length but too much volume will let your foot slide, and no lacing tension solves it comfortably. The fix is usually a thicker insole, which raises the foot and takes up space, or a volume-reducer pad under an existing insole. A boot that is too tight in volume, however, cannot be fixed at all.
Lacing techniques worth learning
The heel lock, sometimes called a surgeon’s knot, is the single most useful technique in hiking. Tie a double twist at the ankle flex point to lock the tension there, then continue lacing normally. It stops the heel lifting on climbs without over-tightening the forefoot. Window lacing skips a crossover to relieve pressure on a sore spot on top of the foot, and loosening the forefoot while tightening the ankle is the standard adjustment for long descents that bruise toenails.
Break-in: how long and how to do it
Modern synthetic boots need almost no break-in; full-grain leather can need 30 to 60 km. Wear new boots indoors for a few evenings, then on short local walks, increasing gradually. Never take an untested pair on a big day. If a boot still hurts after 40 km, it will not improve — the shape is wrong for your foot, and continuing is simply buying blisters with your time.
Boot fit check: what good and bad look like
| Pick | Model / Option | Best for | Price | Weight | Rating |
|---|---|---|---|---|---|
| Toe space | One thumb’s width in front | Prevents bruised toenails on descent | Critical | Check laced | 4.9/5 |
| Heel lift | Under 5 mm on a ramp | Main cause of heel blisters | Critical | Check on incline | 4.8/5 |
| Forefoot width | Spreads without bulging | Numbness and hot spots | High | Check standing | 4.6/5 |
| Instep volume | Snug, no sliding | Holds the heel in place | High | Adjust with insoles | 4.5/5 |
| Ankle flex | No pinching when kneeling | Shin and tongue soreness | Medium | Check crouched | 4.3/5 |
| Sock pairing | Fitted with hiking socks | Changes fit by half a size | Medium | Bring your own | 4.4/5 |
Test each of these in the shop before buying. A boot that fails any of the two critical rows should be rejected regardless of price or reviews.
Matching boot type to the hiking you actually do
Be honest about your typical day rather than your aspirational one. If nine outings in ten are maintained trails with a light pack, buy for that and rent or borrow stiffer boots for the tenth. Light hiking boots and shoes suit day hiking; midweight boots with a half-shank suit multi-day trips up to about 15 kg; stiff backpacking boots suit heavy loads, off-trail travel and crampon compatibility.
Women’s models are built on a different last, generally with a narrower heel, lower instep and softer midsole. Anyone with a narrow heel or lighter body weight may find these fit better regardless of what the label says. Similarly, wide-footed hikers should look specifically at brands known for generous toe boxes rather than sizing up in a narrow boot, which only makes it too long.
Finally, buy from somewhere with a genuine return policy and test the boots indoors on carpet for a few hours. Reputable retailers accept returns on clean, unworn-outdoors boots precisely because they know fit problems appear on the second hour, not the second minute. Use that window rather than hoping a painful pair improves.
When to replace rather than repair
Resole leather boots when the outsole rounds off but the upper is sound — a good cobbler can extend a quality boot by several years. Replace when the midsole compresses permanently, when the upper cracks at the flex point, or when the heel counter softens enough that your heel moves. A boot that no longer holds your foot is not saving you money; it is quietly setting up an ankle injury.
Geo guide: boot choice by where you walk
Fit comes first, but terrain determines which type of boot to fit.
- Local trails and forest paths — Light hiking shoes or low boots; comfort and breathability matter more than stiffness.
- Rocky mountain terrain — Midweight boots with a half-shank and a protective rand around the toe.
- Wet uplands and bog — Waterproof membranes with high gussets and deep, self-clearing lugs.
- Desert and hot dry country — Non-membrane, breathable uppers that dry fast, with a rock plate against sharp stone.
- Winter and snow — Insulated, stiffer boots with crampon compatibility and enough volume for a thicker sock.
Conditions change fast in the mountains: always check the local land-manager forecast before you leave the trailhead.
Frequently Asked Questions
How much room should be in hiking boots?
A thumb’s width between your longest toe and the end of the boot when laced with your heel pushed back. Feet swell on descent, and that space is what prevents bruised toenails.
Should I size up in hiking boots?
Usually by half a size compared with your street shoes, and always fit to your larger foot. Take up extra volume with a thicker sock or insole rather than choosing a shorter boot.
How do I stop my heel slipping in hiking boots?
Use a heel-lock lacing knot at the ankle flex point, and add a thicker insole to reduce internal volume. If your heel still lifts more than about 5 mm, the boot shape is wrong for your foot.
How long does it take to break in hiking boots?
Synthetic boots often need only a few short walks, while full-grain leather can take 30 to 60 km. If discomfort persists past 40 km, the boot will not adapt to your foot.
Are men’s and women’s hiking boots really different?
Yes. Women’s models typically use a narrower heel, lower instep volume and a softer midsole tuned to lighter body weight. Choose whichever last matches your foot rather than the label.